· Thomas - Baby Photographer
DIY Baby Photography at Home: A Comprehensive Guide
This guide offers practical tips on choosing the right space, setting up the backdrop, selecting props, and mastering camera settings to ensure beautiful, memorable photos of your little one.
Capturing the early moments of your baby’s life is a beautiful way to preserve memories for a lifetime. With a bit of preparation and creativity, you can achieve professional-looking baby photos right from the comfort of your home. This guide will walk you through setting up a simple and safe home studio, along with tips to ensure you capture those precious moments perfectly.
Setting Up Your Home Studio
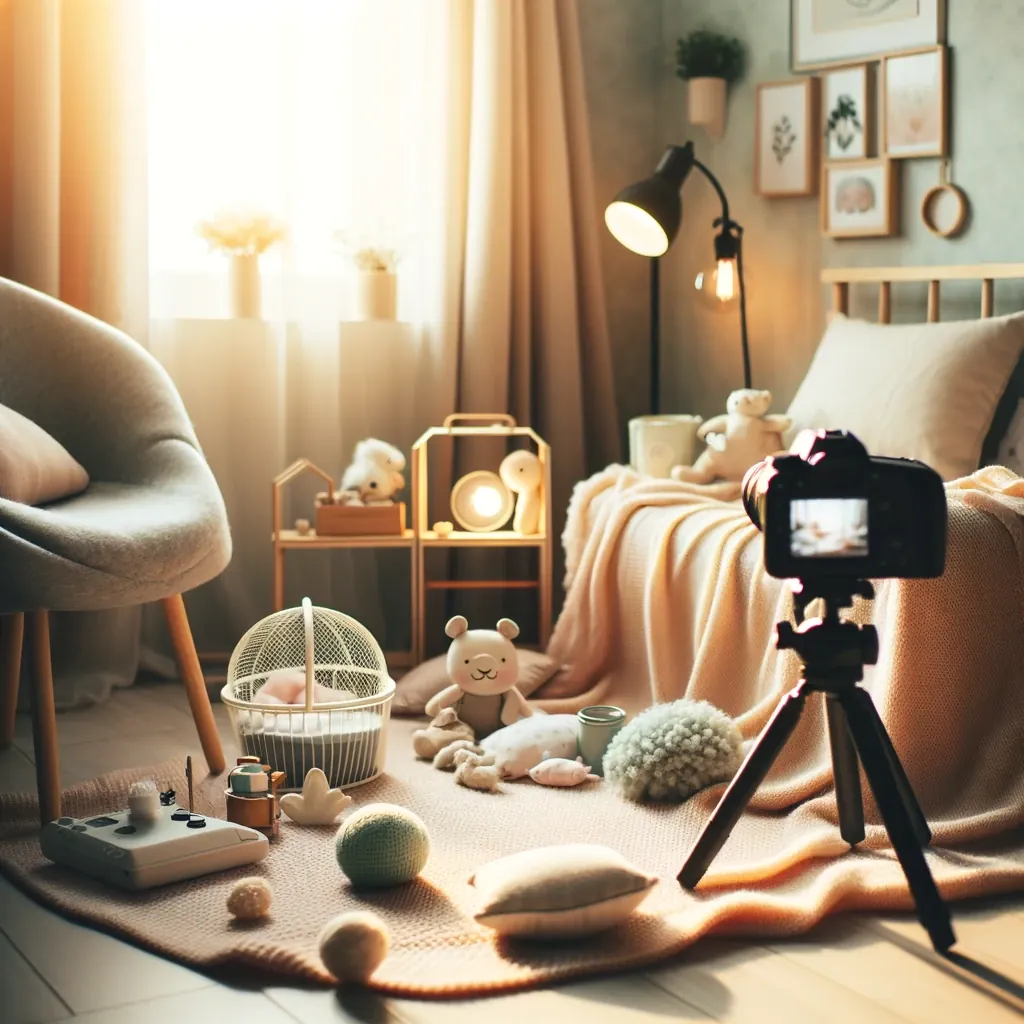
1. Choose the Right Space
Select a room with ample natural light, ideally near a large window. Natural light provides a soft, diffused look that is flattering for baby photography. Ensure the space is warm and comfortable, as babies are more cooperative when they’re cozy.
2. Create a Simple Backdrop
You don’t need an elaborate setup to achieve beautiful backgrounds. A plain white sheet, a soft blanket, or a large piece of fabric can serve as an excellent backdrop. Hang your chosen material against a wall or drape it over a couch or a chair. Ensure the backdrop is smooth and wrinkle-free.
3. Prepare Your Props
Props can add interest and context to your photos but keep them minimal to not detract from the main subject—your baby. Soft toys, a few pieces of baby clothing, or a knit blanket can add texture and depth to your photos. Always ensure that any props you use are safe and clean.
4. Ensure Safety
Safety should be your top priority. Never leave your baby unattended on an elevated surface or with props that could be hazardous. It’s always best to have a spotter or helper nearby to assist you during the photoshoot.
Camera Settings and Equipment
1. Choosing a Camera
You don’t need a high-end camera to take great baby photos. A smartphone or a basic DSLR camera can do the job. The key is understanding how to use your camera effectively.
2. Understanding Light
If using natural light, position your baby at an angle where the light is evenly distributed across their face. Avoid direct sunlight as it can be harsh and create shadows. The best times for natural light photography are in the morning or late afternoon when the light is softer.
3. Camera Settings
If using a DSLR, set your camera to “Aperture Priority” mode with a wide aperture (low f-number) to get a soft background. Ensure your ISO is as low as possible to avoid graininess. Adjust the ISO higher only if necessary to keep your shutter speed fast enough to prevent blur.
Planning Your Shoot
1. Timing is Everything
Babies are often happiest and most alert after a nap and feeding. Plan your photoshoot during these times for the best results. Keep the session short to avoid tiring your baby.
2. Dress for Success
Choose simple, comfortable outfits for your baby. Solid colors or subtle patterns work best, as they won’t distract from your baby’s face. Have a few options on hand in case of accidents or to change up the look.
3. Capturing the Moment
Focus on capturing a variety of expressions and poses. Start with your baby lying on their back, which is comfortable for them and easy for you to shoot. You can then try other safe positions, like tummy time, with support if necessary. Always follow your baby’s lead and take breaks as needed.
Taking the Shot
1. Composition
Follow the rule of thirds for a pleasing composition, placing your baby off-center in the frame. Get down to your baby’s level to capture their perspective. Fill the frame with your baby to make them the focal point of the shot.
2. Focus on the Eyes
The eyes are the window to the soul, even with babies. Make sure the eyes are in focus, especially if you’re using a wide aperture for a blurred background.
3. Experiment with Angles
Don’t be afraid to try different angles and perspectives. Overhead shots can be adorable, as can close-ups of tiny hands and feet. Always ensure your baby’s safety when trying new angles.
Post-Processing
1. Basic Edits
Simple edits can make a big difference. Adjust exposure, contrast, and white balance to enhance your photos. Soften the skin slightly to emphasize your baby’s softness, but avoid over-editing.
2. Black and White Conversion
Consider converting some photos to black and white. This can add a timeless feel to your images and emphasize expressions without the distraction of color.
Final Thoughts
DIY baby photography can be a rewarding way to document your child’s early days. With patience, practice, and a bit of creativity, you can capture beautiful, professional-looking photos at home. Remember, the key to great baby photography is not just the technical skills but the ability to connect and capture the pure essence and innocence of your baby. Happy
Back to Blog